My last adventure with food from the Rice Farmer's Market yielded some very tasty results. This time around I was able to get a different set of ingredients to play with. What I got was a deliciously pungent truffle cheddar from
Brazos Valley Cheese, a creamy, rich and slightly smokey chipotle goat cheese from
Blue Heron Farms, a nice flavorful cut of bison tenderloin from
Katerra Exotics and some tasty old fashioned nixtamal tortillas from Nixtamal Tortillas & Sopes. I guess its not much of leap when I tell you that I decided to make some quesadillas with this set of ingredients. The only thing I added was some fire roasted red peppers for flavor and color.
To review, here are the ingredients that I used to make my quesadillas:
 |
| 10-12 oz of bison tenderloin |
 |
| 3 oz of truffle cheddar |
 |
| 4 oz of chipotle goat cheese |
 |
| two or three roasted red peppers |
 |
| 8 nixtamal tortillas |
I should also note that I used a cast iron
comal to make the quesadillas. If you don't have a comal, a cast iron skillet will do. If you don't have cast iron cookware then simply any skillet or fry pan will work.
 |
| Like any good piece of cast iron cookware this comal has been in the family for generations. This one belonged to my grandmother. |
The first step in making the quesadillas was to get the bison ready. When working with bison there are a few things to keep in mind. First and foremost, just because it looks like beef, that does not mean you can treat it like beef. Bison meat is very very lean and will not marble like beef does. What this means for you is that bison should never be cooked to anything more than medium. If it is cooked any more than that it will become tough and chewy. Next, season simply. You want to enjoy the flavor of the bison itself so don't go crazy with rubs or other seasonings. I used plain old salt and pepper. With that out of the way I can get into the procedural stuff. I let my comal get nice and hot. You know it is ready when you drip water on it and the water sizzles. With my comal nice and hot, I began to sear my meat.
 |
| This will add flavor and color to your meat as well as cook it. |
|
While searing the meat it is important to keep turning it so you sear all sides. I had to turn my meat several times.
 |
| This also help assure that your meat does not burn before it is cooked all the way. |
I pulled my meat when the internal temperature was a little over 125 degrees. This is considered rare. I did this because I did not want my meat to overcook, especially if it was going to be put inside a hot quesadilla that could potentially heat and cook it some more.
Once I pulled the meat off the heat I did two things: I seasoned it and I let it rest. Seasoning your meat after searing will keep your seasonings (mainly the pepper) from burning. Allowing your meat to rest means that the juices will redistribute and not immediately run out from your meat when you slice it leaving it dry.
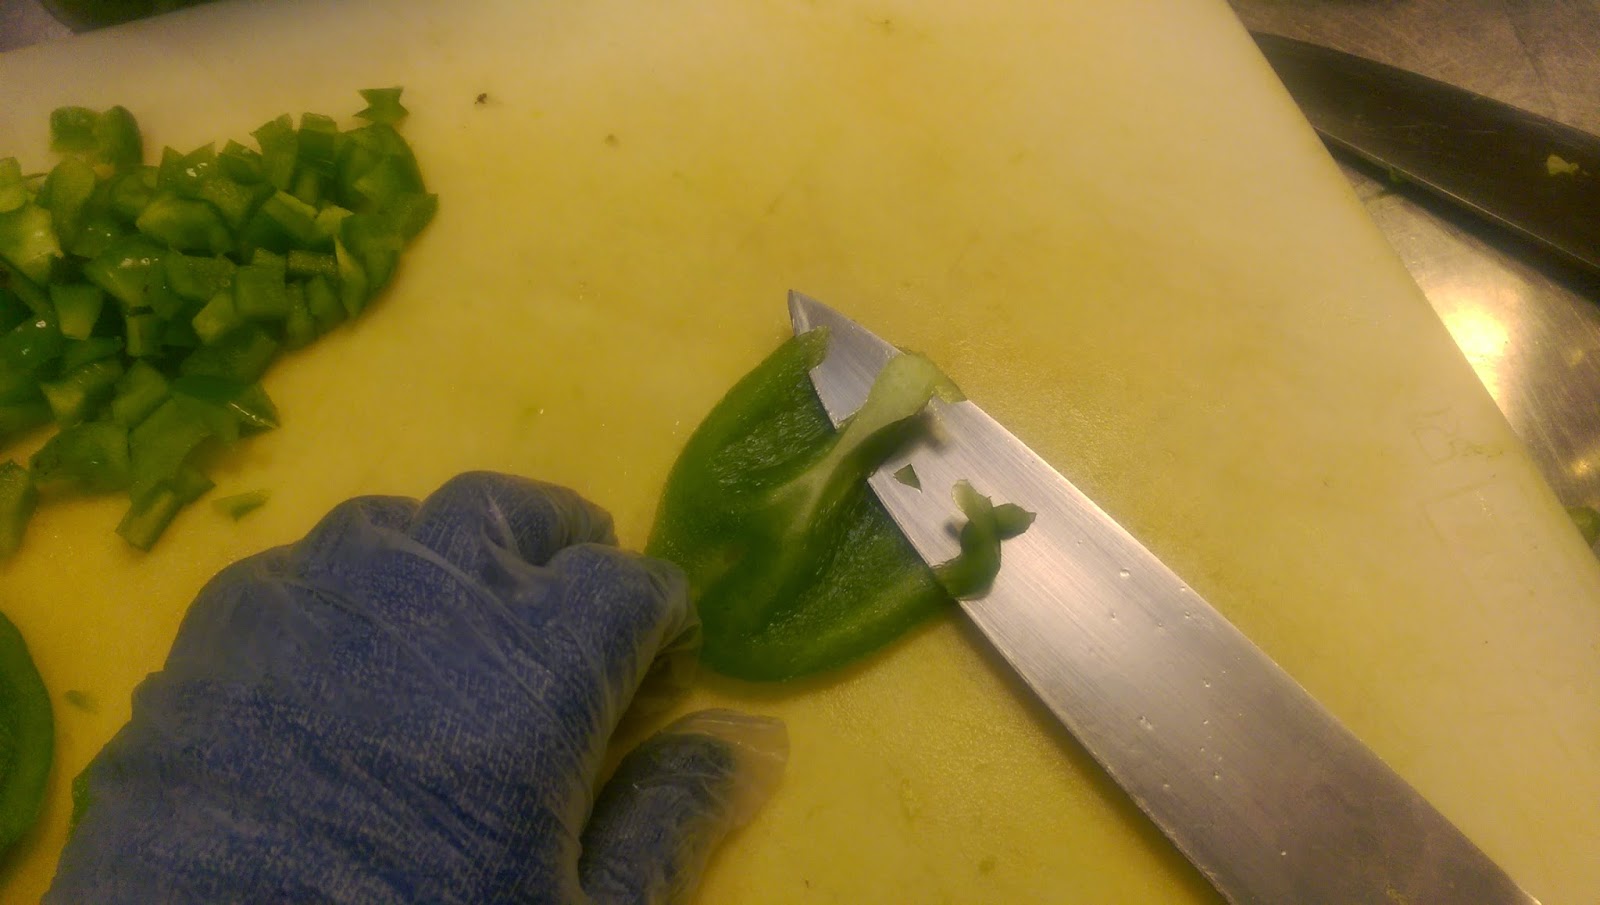
Having the meat rest gave me an opportunity to shred my cheddar and dice up my peppers. There was no really prep needed with the goat cheese since it is already nice and soft.
 |
| I only shredded half the of the 6 oz of cheese I got. |
 |
| That is 3 peppers diced up. |
After about ten minutes I finally sliced my bison. I sliced nice and thin so that it would not be tough to cut through the quesadillas.
 |
| Slicing it thin also helps stretch it out. |
|
With my ingredients prepped it was now time to make my quesadillas. The first step was to get the tortillas ready. Unlike corn tortillas you get from the grocery store, the
nixtamal tortillas I got are in a raw state and need some cooking before being used. I turned down the fire on the comal so it would stay hot, but not as hot as I needed it for searing the meat. With the comal ready I placed a tortilla on it and allowed it to cook and brown taking about eight to ten minutes.
 |
| Let it cook until you can flip it without it breaking. |
After flipping it I let the tortilla cook on the other side. This will help keep the tortilla's structural integrity intact. The reverse side should take slightly less time, maybe about five to eight minutes.
 |
| The cooked tortillas should have a golden hue as well as some darker spots. |
Once the first tortilla was ready I took it off the comal and put the second one on.
 |
| Still warm. |
While the second tortilla was cooking I began assembling my quesadilla. First I added a layer of shredded cheese and some peppers.
 |
| The heat from the tortilla will help begin melting the cheese. |
Next I added some of my sliced bison as well as some more cheese.
 |
| Starting to come together. |
By this time the second tortilla was just about ready.
 |
| Don't forget to flip this one while assembling the bottom half. |
I then placed the fresh tortilla on top of my assembly to complete my quesadilla. It was then back on the comal with the first tortilla still on the bottom. At this point all I was really doing was helping the cheese melt and warming up the middle. I only left it on the comal for about two to three minutes before flipping it over and letting the other side warm up and melt the cheese. The important thing to realize is that flipping the quesadilla over multiple times is OK as long as the cheese melts and the tortillas don't burn.
 |
| MMM, melty. |
After it was done I simply cut the quesadilla into quarters to enjoy.
When I made the quesadillas with the chipotle goat cheese I followed the same procedure. The only difference I noticed is that you don't need as much goat cheese since it is softer and tends to melt faster and spread out more.
 |
| First tortilla with layer of cheese and peppers. |
 |
| Next layer of bison and more cheese. |
 |
| Bison quesadillas only with goat cheese instead of cheddar. |
There you have it. That is how I made my bison quesadillas using fresh tortillas and cheese from the farmer's market. I do have to note that while both variations of these quesadillas were very delicious I would omit the red peppers from the first variation. Between the strong flavors of the truffle cheese and the bison the peppers were kind of lost. However they played well with the goat cheese. If you can't afford or get bison you could very well make these quesadillas with beef, specifically fajitas. I hope you get a chance to try your hand at these very delicious quesadillas.